



Optical Endoscope Repair Steps & Key Points (Oral English, suitable for client communication / work checklist)
Steps
1. Receive endoscope, register serial number and record customer’s fault description.
2. Complete external visual inspection for cracks, dents, bent tubes and leak risks.
3. Carry out optical test: check image clarity, distortion, dark spots and light transmission.
4. Disassemble the scope gently, take care of objective, relay lens and eyepiece assemblies.
5. Clean optical lenses, remove dirt, water stains and mildew with professional cleaning fluid.
6. Adjust lens alignment if image shifts, fuzzy or has double vision.
7. Replace damaged optical parts, sealing rings and sheath components as needed.
8. Reassemble precisely, keep proper spacing between each lens group.
9. Run full optical performance test again after assembly.
10. Do air leak test to ensure no water infiltration.
11. Clean the whole unit, pack and issue test report before delivery.
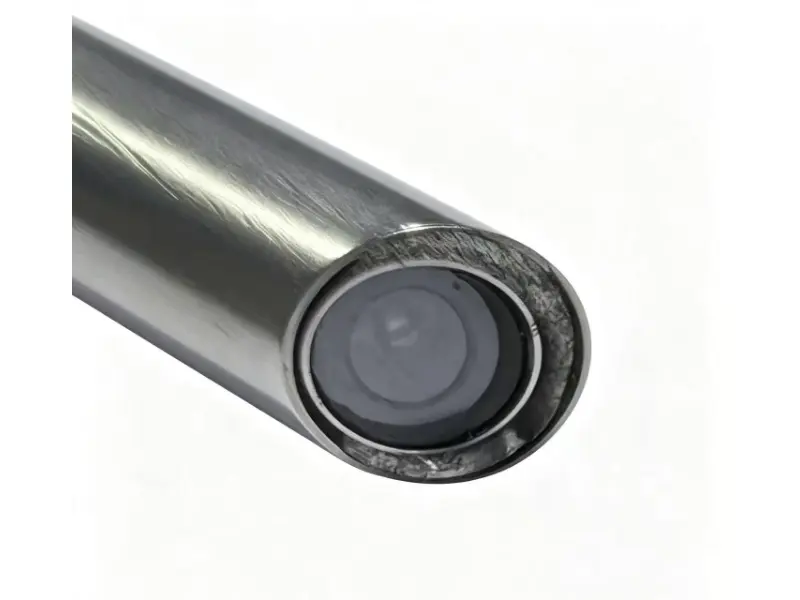
Key Focus Points - Avoid violent disassembly; optical lenses scratch easily. - Prevent mildew growth on lens surfaces; control humidity during repair. - Strictly maintain original lens position, tiny offset causes blurred images. - All sealing areas must be leak-proof to stop liquid entering optical channel. - Record every replaced part and test data for file keeping. - Handle objective tip extra carefully — it is the most fragile section.